Wiring Diagrams for Kawasaki Prairie 300 ATV: A Visual Guide
Wiring Diagrams For Kawasaki Prairie 300 Atv
contributor by : Bernadette Morrison
Wiring diagrams can be a confusing maze of lines and symbols, but they’re essential for understanding how electrical systems work. If you’re the proud owner of a Kawasaki Prairie 300 ATV, you’ll want to know how to read the wiring diagram for your vehicle. In this article, we’ll guide you through the process of interpreting the wiring diagram for your Kawasaki Prairie 300 ATV.
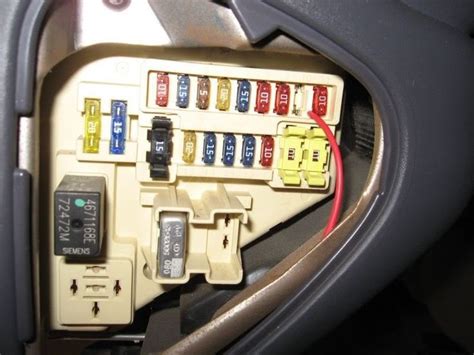
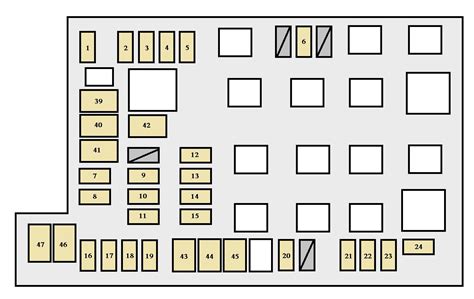
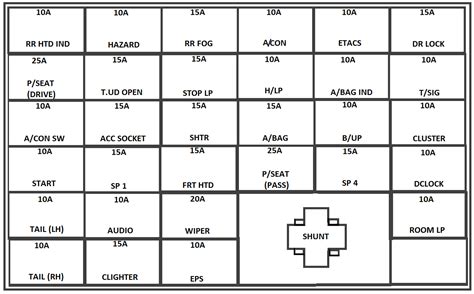
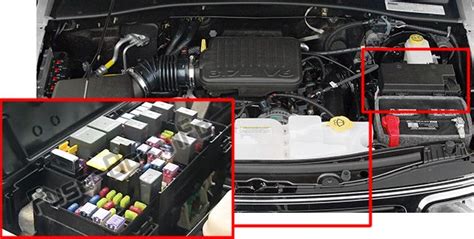
First, let’s start with the basics. A wiring diagram is a visual representation of an electrical circuit. It shows the various components of the circuit, such as switches, relays, and fuses, and how they’re connected. The diagram also includes symbols that represent different types of components, such as a circle for a battery or a triangle for a fuse.
Now, let’s dive into the specifics of the Kawasaki Prairie 300 ATV wiring diagram. The diagram will likely include a variety of components, such as the ignition switch, the starter motor, and the headlight. Each component will be labeled with a number or letter, and the wiring between them will be shown as lines connecting the components.
As you read through the diagram, it’s important to pay attention to the colors of the wires. Different colors represent different functions or circuits. For example, a red wire might represent the power circuit, while a yellow wire might represent the ground circuit.
Once you’ve familiarized yourself with the diagram, you’ll be able to troubleshoot any electrical issues that arise. For example, if your headlight isn’t working, you can refer to the diagram to see if there’s a problem with the wiring between the switch and the bulb.
In conclusion, understanding the wiring diagram for your Kawasaki Prairie 300 ATV is essential for maintaining your vehicle. By following the steps outlined in this article, you’ll be able to interpret the diagram and troubleshoot any electrical issues that arise. So, grab your diagram and let’s get started!
another content from contributor : wiring diagram yamaha xj550
Wiring Diagrams for Kawasaki Prairie 300 ATV: A Guide for the Savvy Rider
Introduction
As a rider, you know that your ATV is more than just a machine – it’s an extension of yourself. And just like you take care of your body, you want to take care of your ride. One way to do that is by understanding the wiring diagram for your Kawasaki Prairie 300 ATV. In this guide, we’ll walk you through the basics of wiring diagrams and how they can help you keep your ATV running smoothly.
What is a Wiring Diagram?
A wiring diagram is a visual representation of an electrical system. It shows the various components of the system, such as switches, relays, and fuses, and how they’re connected. Wiring diagrams are essential for understanding how electrical systems work and can help you troubleshoot any issues that may arise.
Understanding the Kawasaki Prairie 300 ATV Wiring Diagram
The wiring diagram for your Kawasaki Prairie 300 ATV will likely include a variety of components, such as the ignition switch, the starter motor, and the headlight. Each component will be labeled with a number or letter, and the wiring between them will be shown as lines connecting the components. It’s important to pay attention to the colors of the wires, as different colors represent different functions or circuits.
Troubleshooting with the Wiring Diagram
Once you’ve familiarized yourself with the diagram, you’ll be able to troubleshoot any electrical issues that arise. For example, if your headlight isn’t working, you can refer to the diagram to see if there’s a problem with the wiring between the switch and the bulb.
Conclusion
Understanding the wiring diagram for your Kawasaki Prairie 300 ATV is essential for maintaining your vehicle. By following the steps outlined in this guide, you’ll be able to interpret the diagram and troubleshoot any electrical issues that arise. So, grab your diagram and let’s get started!
Understanding the wiring diagram for your Kawasaki Prairie 300 ATV is like having a roadmap for your electrical system. It helps you navigate through the complex web of connections and identify any issues that may arise. By following the steps outlined in this guide, you’ve gained the knowledge and tools to troubleshoot and maintain your ATV’s electrical system.
But the journey doesn’t end here. As a rider, you know that the road is always changing, and the same goes for your ATV. New components may be added, wires may get crossed, and connections may loosen over time. That’s why it’s important to keep your wiring diagram handy and regularly check your electrical system.
Remember, a well-maintained ATV is a safe and enjoyable ride. So, take the time to understand your wiring diagram and keep your electrical system in top shape. And who knows, you might even impress your fellow riders with your electrical know-how.
Complete Article Click: HERE
Keywords : Wiring Diagrams, Kawasaki Prairie 300 ATV, Electrical System, Troubleshooting, Maintenance, Safety