2009 Yamaha Rhino 700 Wiring Diagram: Unraveling Electrical Complexity
2009 Yamaha Rhino 700 Wiring Diagram
contributor by : Wanda Howard
As we embark on this journey of exploration into the intricacies of the 2009 Yamaha Rhino 700 wiring diagram, it’s essential to embrace the allure of unraveling complexities and navigating through the intricate web of electrical connections. Imagine, if you will, delving into a map of circuitry, each line representing a pathway to understanding, each node holding the key to unlocking the vehicle’s electrical mysteries. In this voyage, we shall traverse through the realms of diagrams and schematics, guided by the beacon of knowledge and curiosity. Let us embark on this voyage of discovery, where every wire tells a story, and every connection holds a clue to the vehicle’s inner workings.
another content from contributor : wiring diagram of kia bongo
Welcome to the intricate world of the 2009 Yamaha Rhino 700 wiring diagram. In this comprehensive exploration, we’ll dissect the electrical blueprint of this legendary machine, uncovering the secrets hidden within its circuits and connections.
The Essence of Complexity
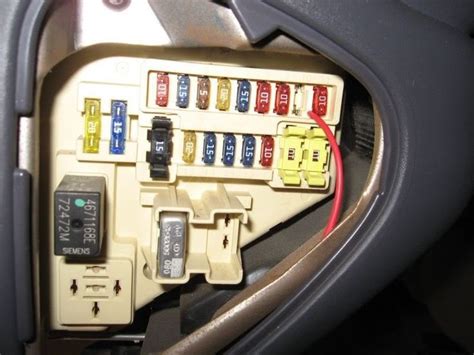
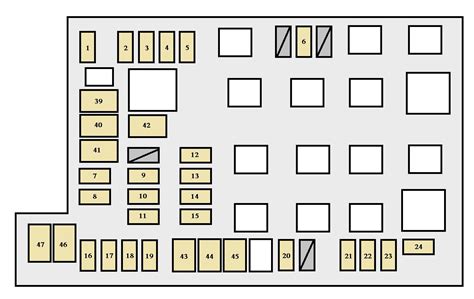
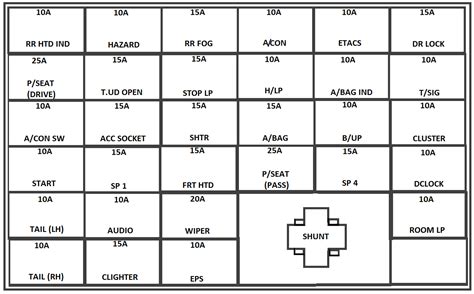
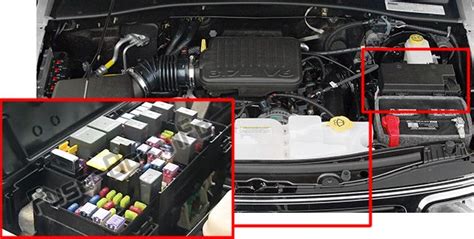
At first glance, the wiring diagram may appear daunting, with its myriad of lines and symbols sprawled across the page. However, beneath this complexity lies a symphony of order and functionality, each component meticulously arranged to ensure the optimal performance of the vehicle.
Deciphering the Connections
As we delve deeper into the diagram, we’ll unravel the intricate network of connections that power every aspect of the Yamaha Rhino 700. From ignition systems to lighting circuits, each wire serves a vital role in the functionality of the vehicle.
Understanding the Components
Within the diagram, we’ll encounter a multitude of components, from relays and switches to sensors and solenoids. Understanding the function of each part is crucial in troubleshooting electrical issues and performing maintenance tasks.
Tracing the Pathways
As we trace the pathways of the wiring diagram, we gain insight into how electrical signals flow throughout the vehicle. This knowledge allows us to identify potential areas of concern and implement effective solutions.
Empowering DIY Enthusiasts
For DIY enthusiasts, the wiring diagram serves as a valuable resource, empowering individuals to tackle electrical projects with confidence. With a thorough understanding of the diagram, even the most complex repairs become achievable.
Enhancing Vehicle Performance
By harnessing the insights gained from the wiring diagram, enthusiasts can fine-tune and optimize the performance of their Yamaha Rhino 700. Whether it’s increasing horsepower or improving fuel efficiency, the diagram provides the roadmap to success.
Conclusion
In conclusion, the 2009 Yamaha Rhino 700 wiring diagram is more than just a schematic it’s a gateway to understanding the inner workings of this iconic machine. With its wealth of information, enthusiasts can embark on a journey of discovery, unlocking the full potential of their vehicle.
Exploring the depths of the 2009 Yamaha Rhino 700 wiring diagram has been a journey filled with both challenges and rewards. As we peel back the layers of complexity, we uncover a wealth of knowledge that empowers us to understand and optimize the electrical systems of this iconic vehicle. Through this exploration, we’ve gained insights into the intricate connections and components that drive the Yamaha Rhino 700, equipping us with the tools necessary to troubleshoot issues and enhance performance.
Furthermore, delving into the wiring diagram has reinforced the importance of curiosity and resourcefulness in tackling DIY projects. By embracing the spirit of experimentation and learning, we not only save time and money but also develop valuable skills that extend beyond the realm of vehicle maintenance. So, whether you’re a seasoned enthusiast or a novice DIYer, remember that the 2009 Yamaha Rhino 700 wiring diagram is more than just a schematicit’s a gateway to empowerment and discovery.
As we conclude our exploration of the 2009 Yamaha Rhino 700 wiring diagram, let us carry forward the lessons learned and continue to push the boundaries of our understanding. With each connection made and each problem solved, we inch closer to mastery and unlock new possibilities for adventure. So, seize the opportunity to dive deeper into the world of vehicle electronics and embark on a journey of discovery that will leave you feeling empowered and inspired.
More content: HERE
Keywords : wiring diagram, Yamaha Rhino, electrical complexity, connections, components, DIY enthusiasts, vehicle performance