Understanding the Wiring Diagram of Yamaha XJ550 Motorcycle
Wiring Diagram Yamaha Xj550
contributor by : Andrew Kelly
Are you having trouble understanding the wiring diagram of your Yamaha XJ550 motorcycle? Don’t worry, we’ve got you covered. In this article, we’ll walk you through the process of deciphering the wiring diagram in a simple and straightforward manner. Let’s get started!
another content from contributor : wiring diagram toyota innova
Wiring Diagram Yamaha XJ550: A Guide for Motorcycle Enthusiasts
If you’re a motorcycle enthusiast, you know that understanding the wiring diagram of your Yamaha XJ550 is crucial for maintaining its performance and safety. But let’s face it, wiring diagrams can be confusing, especially for those who aren’t electrically inclined. That’s why we’ve put together this comprehensive guide to help you navigate the wiring diagram of your Yamaha XJ550 with ease.
What is a Wiring Diagram?
A wiring diagram is a visual representation of the electrical connections in a motorcycle. It shows how different components are connected and how they interact with each other. Understanding the wiring diagram of your Yamaha XJ550 can help you troubleshoot electrical issues, perform repairs, and even customize your bike to suit your preferences.
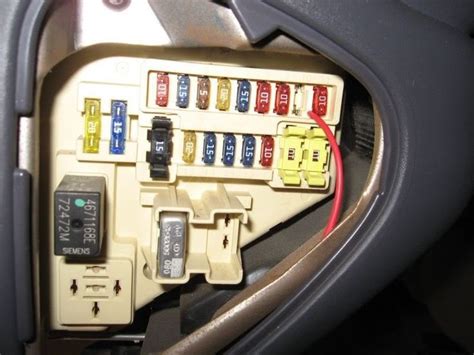
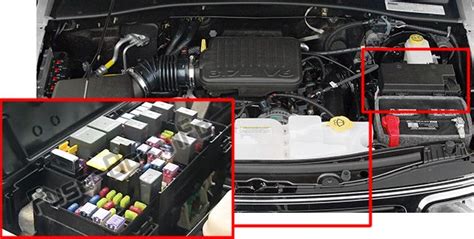
Finding the Wiring Diagram
The first step in understanding the wiring diagram of your Yamaha XJ550 is to find the diagram itself. You can usually find the wiring diagram in the owner’s manual or on the manufacturer’s website. Alternatively, you can search online for a wiring diagram specific to your bike model and year.
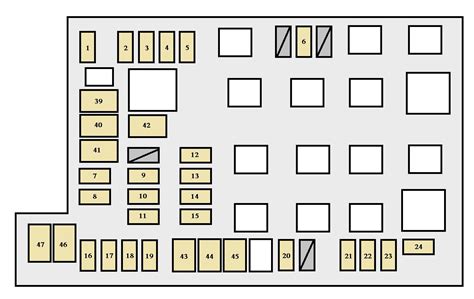
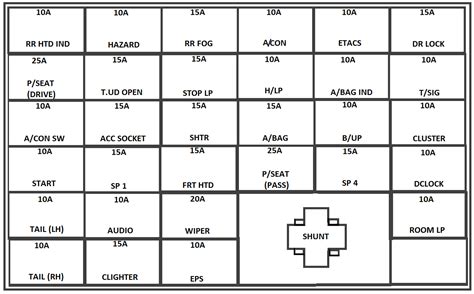
Understanding the Symbols
Once you have the wiring diagram, it’s important to understand the symbols used in the diagram. These symbols represent different components and connections in the electrical system of your Yamaha XJ550. Some common symbols include wires, connectors, switches, and fuses.
Troubleshooting with the Wiring Diagram
With the wiring diagram in hand, you can now troubleshoot electrical issues in your Yamaha XJ550. By following the diagram, you can identify which components are connected to which, and where the problem may lie. This can save you time and money by allowing you to pinpoint the issue before taking your bike to a mechanic.
Performing Repairs with the Wiring Diagram
In addition to troubleshooting, the wiring diagram can also be used to perform repairs on your Yamaha XJ550. By following the diagram, you can replace faulty components, such as fuses or connectors, and restore your bike to its optimal performance.
Customizing Your Yamaha XJ550 with the Wiring Diagram
Finally, the wiring diagram can also be used to customize your Yamaha XJ550. By understanding the electrical connections in your bike, you can add aftermarket accessories, such as lights or audio systems, and integrate them seamlessly into your bike’s electrical system. This can enhance your riding experience and make your bike truly unique.
Conclusion
In conclusion, understanding the wiring diagram of your Yamaha XJ550 is essential for maintaining its performance and safety. By following the steps outlined in this guide, you can
Understanding the wiring diagram of your Yamaha XJ550 motorcycle is crucial for ensuring its performance and safety. By following the steps outlined in this article, you can decipher the wiring diagram with ease and confidence. Remember to always prioritize safety when working with electrical components, and don’t hesitate to seek professional help if you’re unsure about any aspect of the process.
We hope this guide has been helpful for you. If you have any further questions or if there’s anything else we can assist you with, please don’t hesitate to reach out. We’re always here to help.
More content: HERE
Keywords : Wiring Diagram, Yamaha XJ550, Motorcycle, Electrical System, Troubleshooting, Repairs, Customization