Thermostat Wiring Diagram Trane Baysens135a Model: Blueprint for Comfort
Thermostat Wiring Diagram Trane Baysens135A Model
contributor by : Felicity Lawrence
Alright, let’s dive into the electrifying world of thermostat wiring diagrams, specifically exploring the intricacies of the Trane Baysens135a model. Now, imagine this: you hold in your hands the blueprint of comfort, the roadmap to a climate-controlled paradise. But wait, there’s a twist! This isn’t just any old diagram; it’s the key to unlocking the potential of your Trane system, unleashing its power to transform your living space into a sanctuary of serenity and coziness. So, strap in, my friend, because we’re about to embark on a journey that will illuminate the path to optimal comfort and efficiency like never before.
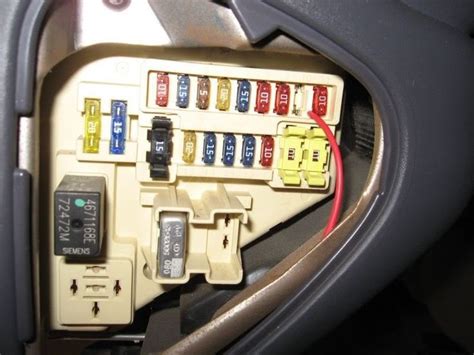
another content from contributor : toyota estima fuse box
Welcome to a journey of understanding and mastery: the thermostat wiring diagram for the Trane Baysens135a model. Let’s navigate this landscape with compassion and clarity.
Understanding the Basics
Before delving into complexities, let’s grasp the fundamentals. The diagram is your roadmap, detailing connections and functions. Patience and attentiveness will serve you well.
Deciphering Symbols
Every symbol holds significance. Embrace them as keys to comprehension. Take note of their meanings to unlock the diagram’s secrets.
Identifying Components
Each component plays a vital role. From wires to terminals, understanding their functions ensures accurate installation and troubleshooting.
Mapping Connections
Connecting the dots is essential. Follow the diagram meticulously to establish proper links between components, avoiding confusion.
Ensuring Safety
Prioritize safety above all else. Power down the system before any work begins. Double-check connections to prevent hazards.
Seeking Assistance
Don’t hesitate to seek help if needed. Consulting professionals or manuals can offer clarity and guidance.
Testing and Calibration
After installation, test the system diligently. Calibration ensures accuracy, providing peace of mind in your newfound mastery.
Embracing Mastery
Congratulations on mastering the Trane Baysens135a wiring diagram. May your journey be filled with warmth, comfort, and a sense of accomplishment.
As we come to the end of our exploration into the intricacies of the thermostat wiring diagram Trane Baysens135a model, I hope you’ve found this journey both enlightening and empowering. We’ve uncovered the fundamental elements of this blueprint for comfort and learned how to decode its symbols, identify components, and map connections with precision. Through patience and attention to detail, we’ve navigated the complexities of installation and troubleshooting, prioritizing safety and seeking assistance when needed.
Now, armed with a newfound understanding and confidence, it’s time to embrace mastery. Take the next step in your journey by applying what you’ve learned, testing and calibrating your system to ensure optimal performance. Remember, mastery is not a destination but a continuous process of growth and refinement. Embrace the challenges and celebrate the victories along the way, knowing that with each step, you’re one step closer to achieving the comfort and efficiency you desire.
Thank you for joining me on this exploration into the world of thermostat wiring diagrams. May your journey be filled with curiosity, discovery, and a sense of accomplishment. Until next time, stay curious and keep exploring.
Complete Article Click: HERE
Keywords : thermostat wiring, diagram Trane, Baysens135a model, comfort control, installation troubleshooting, mastering journey, exploration efficiency